

Defining Undetectable Makeup: Your 2026 Natural Look Guide
Undetectable makeup is makeup that looks exactly like your skin on its best day. No visible edges, no mask-like finish, no obvious product sitting on the surface. Celebrity makeup artist Kat James puts it plainly: “invisible makeup” focuses on texture, application technique, and diffusion so that everything appears fresh and undetectable. The goal is not to hide your face but to let it read as naturally polished.
The 2026 beauty shift driving this approach is what industry insiders call “second skin” synergy: modern formulas blend skincare and makeup so the product respects and improves skin health rather than sitting on top of it. That changes everything about how you choose and apply products.
A few principles define the invisible makeup approach:
- Sheer over full coverage. Tinted moisturizers, skin tints, and light-coverage foundations preserve natural skin translucency.
- Spot correction, not full-face blanket coverage. Apply product only where you actually need it.
- Undertone matching over shade depth. A wrong undertone shows; a slightly off depth usually does not.
- Skin prep first. Hydrated, smooth skin lets product melt in rather than sit on the surface.
- Tools that melt product in. Fingers and damp sponges beat heavy brushes for this look.
Pro Tip: Start with half the amount of product you think you need. You can always add a small amount more, but removing excess product without disturbing what is already blended is nearly impossible.
How do you apply undetectable makeup step by step?
The process is less about layering products and more about knowing where to stop. Follow these steps and you will spend less time in front of the mirror while looking noticeably better.
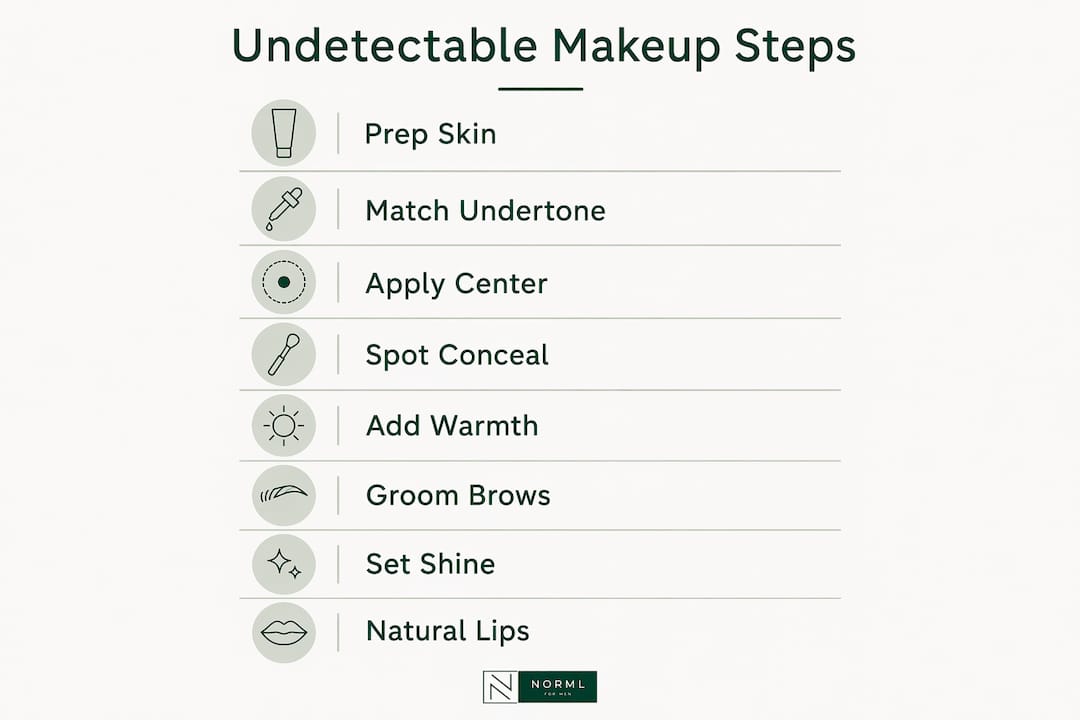
Step 1: Prep your skin properly
Proper skin prep is the single most important factor in whether your makeup looks invisible or obvious. Dehydrated skin causes product to settle into texture and fine lines, making even a light formula look cakey. Cleanse gently, then apply a lightweight, fast-absorbing moisturizer and let it sink in fully before touching any complexion product. If you have oily skin, a mattifying primer on the T-zone helps. Dry skin benefits from a hydrating serum underneath.
Step 2: Choose the right complexion product for your skin type
Skin type determines which formula actually works for you:
- Dry skin: tinted moisturizers, dewy liquid foundations, or cushion formulas with hydrating ingredients
- Oily skin: long-wear matte or natural-matte liquids; avoid anything labeled “luminous”
- Normal or combination skin: light-to-medium buildable liquid foundations or skin tints
- Textured skin: lightweight, soft-focus formulas; heavy matte powders sit in pores and make texture worse
Step 3: Match your undertone, not just your shade
Undertone matching is the technical step most people skip, and it is why some foundations look gray or orange even when the depth seems right. Cool undertones lean pink; warm undertones lean yellow or golden; neutral sits between both. Test on your jawline in natural light, never on your wrist. When a shade matches your undertone precisely, it melts into skin and becomes nearly invisible.
Step 4: Apply sparingly, starting from the center
Dot a pea-sized amount of product onto the center of your face and blend outward using your fingers or a damp sponge. Applying with your fingers uses body heat to melt the formula into skin so edges disappear rather than sit on the surface. Blend into the hairline and jawline so there is no visible color break at the neck. Build coverage only where you actually need it, not across the whole face.
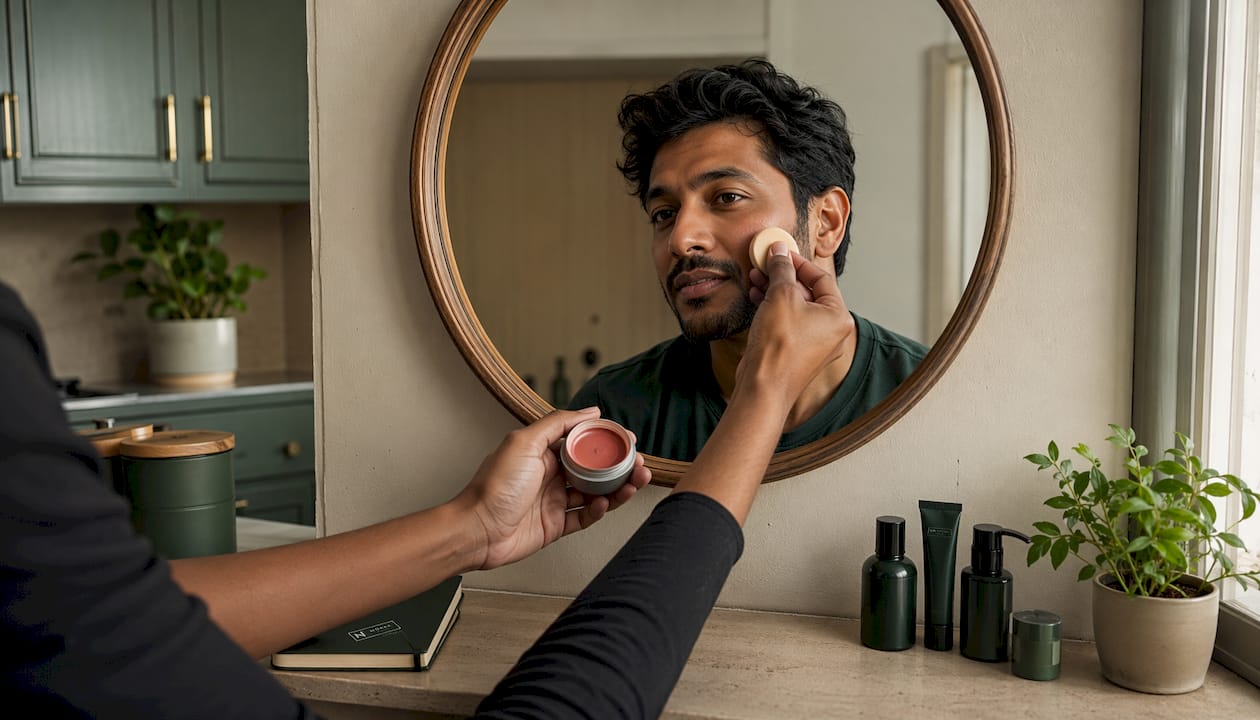
Pro Tip: Tap, do not rub. A patting motion with a damp sponge presses product into skin for a blurred, skin-like finish. Rubbing moves product around and thins it unevenly.
Step 5: Conceal only where needed
Spot concealing under the eyes, around the nose, and on individual blemishes preserves the natural translucency of the rest of your skin. Use your ring finger to tap and blend a small amount, since the ring finger applies the lightest pressure of any finger. For under-eyes, choose a shade closest to your skin tone rather than going dramatically lighter. For blemishes, a tiny pointed brush and a matte formula give the most precise, undetectable coverage.
Step 6: Add warmth and dimension with cream products
Cream blush is the fastest way to make skin look alive rather than flat. Smile lightly, dab a small amount onto the apples of your cheeks, and blend upward and outward until the edges disappear. For a subtle glow, a cream highlighter applied in dots to the high points of the face, such as the tops of cheekbones and the bridge of the nose, adds light without sparkle. Skip shimmer-heavy formulas entirely; they read as obviously applied rather than naturally radiant.
Step 7: Groom brows and define lashes lightly
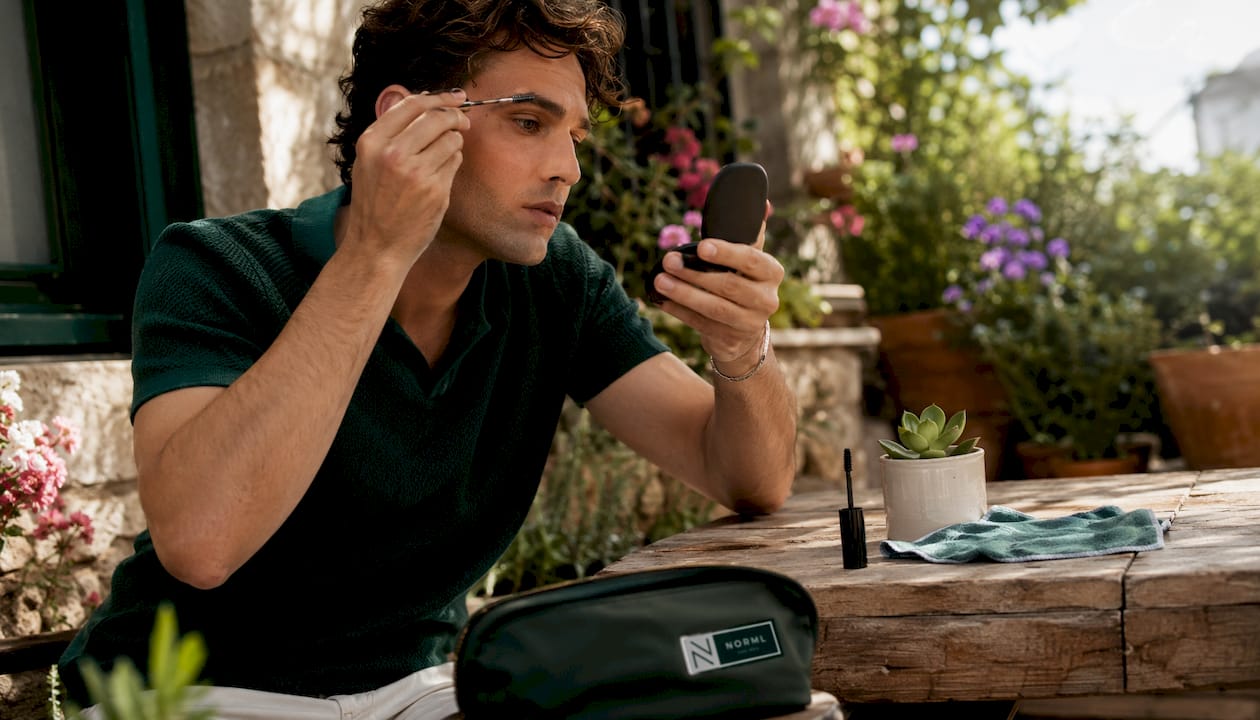
Brows need lift, not drama. A clear or lightly tinted brow gel brushed upward takes about ten seconds and makes the whole face look more awake. For lashes, one coat of brown or soft black mascara focused at the roots opens the eyes without clumping. Resist the urge to add a second coat.
Step 8: Set only where you actually shine
Translucent powder belongs only on shine-prone areas, typically the T-zone and under the eyes if creasing is a concern. Leave the cheeks and high points of the face luminous. A light dusting with a small fluffy brush is enough. Over-powdering is one of the fastest ways to make skin look flat and obviously made up.
Step 9: Finish with a lip product that reads as natural
A cream blush can double as a lip color: tap a small amount onto your lips and blend the edges for a just-bitten effect. Alternatively, a sheer tinted lip balm adds a hint of color without looking like lipstick. The goal is a lip that looks like yours, only slightly more alive.
What mistakes make makeup look detectable?
Getting the invisible look wrong usually comes down to one of a handful of consistent errors. Recognizing them is faster than fixing them after the fact.
- Over-applying product. Experts consistently flag this as the most common beginner mistake. More product does not mean better coverage; it means visible product. Start with less than you think you need.
- Matching shade depth without checking undertone. A foundation that is the right depth but the wrong undertone will look gray, orange, or pink on the skin, no matter how well you blend it.
- Covering the entire face uniformly. Full-face blanket coverage flattens the natural dimension of skin. Spot correction on problem areas while leaving the rest of the face alone preserves the translucency that makes skin look real.
- Skipping skin prep. Dry or rough skin causes product to cling to texture and settle into lines. No amount of blending skill fixes a poorly prepped base.
- Over-powdering. A heavy layer of powder creates a matte, mask-like finish that reads as obviously applied. Powder belongs only where oil actually builds.
- Making brows or lashes too defined. Harsh brow lines and heavy mascara immediately signal that makeup is present. A light hand keeps both features looking groomed rather than done.
- Ignoring skin type when choosing a formula. A dewy formula on oily skin looks greasy by midday. A matte formula on dry skin looks chalky. The right formula for your skin type does half the work of blending.
- Not blending edges into the hairline and jawline. A visible line at the jaw or forehead is the clearest sign that foundation is present. Always blend past the edge of the face.
- Layering too quickly. Letting each thin layer settle for 10–15 seconds before adding more keeps coverage thin and skin-like. Stacking wet product on wet product creates thickness that looks heavy.
Norml4men covers what you need, without anyone noticing
Most men want to look sharper without anyone knowing they did anything. That is exactly the problem Norml4men was built to solve.

The Norml all-in-one concealer covers blemishes, redness, and dark circles with a lightweight, matte formula designed to blend into male skin without leaving a trace. No obvious product, no shine, no mask effect. You apply it in seconds and it reads as your skin, just on a better day. For men new to subtle coverage, it removes the guesswork around shade matching and formula selection entirely. One product, one step, done.
If you want to go deeper on technique and product selection, the men’s beginner makeup guide on the Norml4men blog walks through the full process in plain language, with no unnecessary steps.
Key Takeaways
Undetectable makeup works because it treats skin as the main feature, not a problem to cover, using sheer formulas, undertone matching, and targeted application to enhance without revealing itself.
| Point | Details |
|---|---|
| Skin prep is foundational | Lightweight moisturizer applied before any product prevents settling into texture and keeps blending smooth. |
| Undertone beats shade depth | Matching your foundation’s undertone to your skin eliminates visible edges and color casts in natural light. |
| Spot correct, do not blanket cover | Applying product only where needed preserves natural skin translucency and prevents a flat, mask-like finish. |
| Fingers and damp sponges win | Body heat from fingertip application melts product into skin so edges disappear rather than sit on the surface. |
| Norml4men for men’s coverage | The Norml all-in-one concealer delivers lightweight, matte, undetectable coverage for blemishes, redness, and dark circles in one step. |


