
Explaining Blemish Coverage for Men: a Practical Guide
TL;DR:
- Proper blemish coverage involves using color correctors and concealers in the correct order with clean tools to achieve a natural, even finish. Applying products with patting techniques, setting with powder, and choosing shades that match your skin tone are essential for long-lasting results. Proper technique and product layering build confidence and help men address skin concerns efficiently in just minutes.
Blemish coverage is the targeted use of cosmetic products and application techniques to visually reduce the contrast between spots, redness, or scars and the surrounding skin. For young men, this means looking sharper and more even without anyone knowing you did anything. The right approach combines non-comedogenic concealers, color correctors, and setting powders applied in a specific order. Technique matters as much as product. This guide breaks down exactly what to use, how to apply it, and how to keep it looking natural through any social situation.
What products are best for covering blemishes naturally?
Explaining blemish coverage starts with understanding that not all concealers are built the same. The two categories you need to know are color correctors and coverage concealers. Color correctors neutralize discoloration before you apply anything else. Coverage concealers then match your skin tone to make the corrected area disappear.
For acne-prone skin, the non-negotiable is a non-comedogenic formula. Products labeled non-comedogenic are tested to avoid clogging pores, which matters because covering a blemish while making it worse defeats the purpose. Oil-free formulas also prevent the shiny, greasy look that draws attention rather than deflecting it.
Color correctors: which shade does what
Color correctors neutralize undertones: green cancels redness from active pimples, while peach or orange tones cancel dark post-acne marks. The shade you pick depends on both the discoloration type and your skin depth. Lighter skin tones respond better to peach, while deeper skin tones need orange to counteract darkness effectively. Using the wrong corrector shade leaves a muddy result instead of a neutral base.
Concealer texture by blemish type
Concealer texture affects coverage differently depending on whether a blemish is raised or flat. Dense, matte concealers applied with a small brush work best on raised pimples because they grip the surface without sliding. More emollient, creamy formulas suit flat post-acne marks because they blend into the skin without emphasizing texture. Choosing the wrong texture for the wrong blemish type amplifies the problem instead of hiding it.
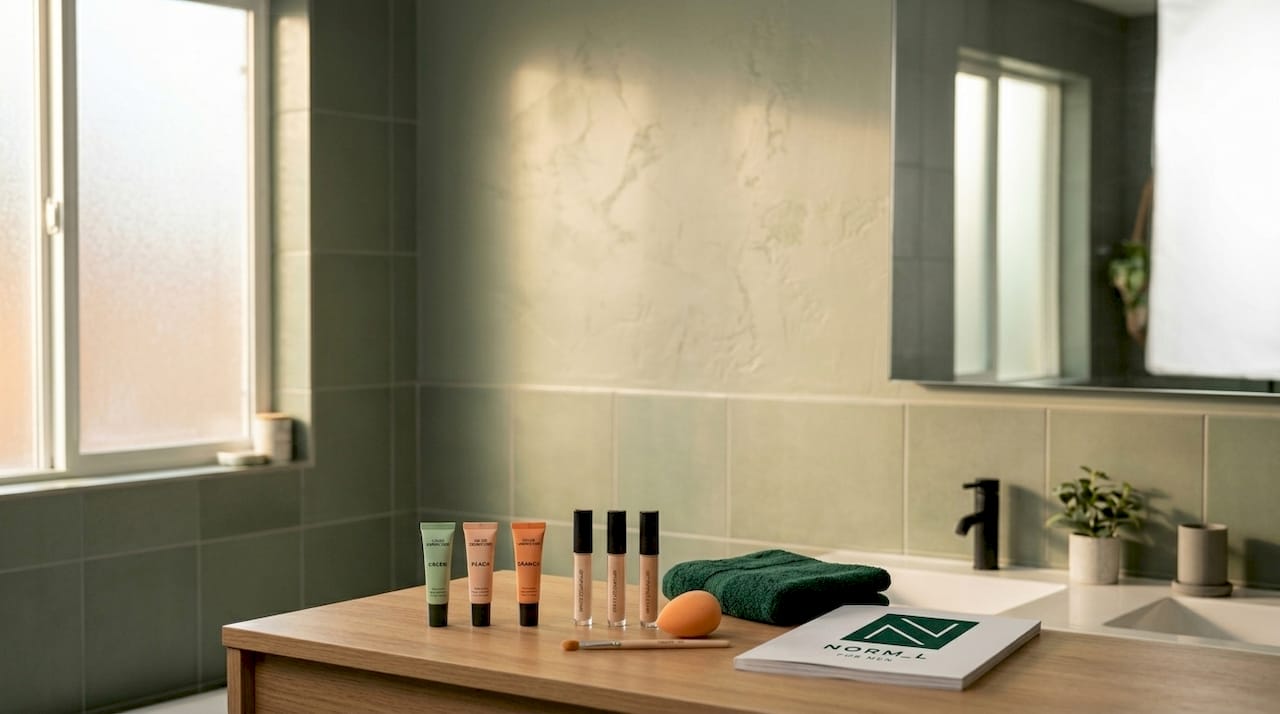
Tools that make a real difference
A small concealer brush or a damp makeup sponge outperforms fingers every time. Applying with fingers transfers bacteria onto inflamed skin and pushes product around instead of pressing it in. A damp sponge stipples product into the skin for a skin-like finish, while a small brush gives you precision on individual spots. Keep your tools clean. A dirty brush is a direct route to more breakouts.
Pro Tip: If you only own one tool, a damp beauty sponge handles both precise spot coverage and edge blending without requiring any technique practice.
How to apply blemish coverage step by step
A clean, moisturized face is the foundation of any coverage that lasts. Start by washing your face, applying a lightweight moisturizer, and letting it absorb for 60 seconds before touching any product. Skipping this step means concealer sits on dry, flaky skin and breaks apart within an hour.
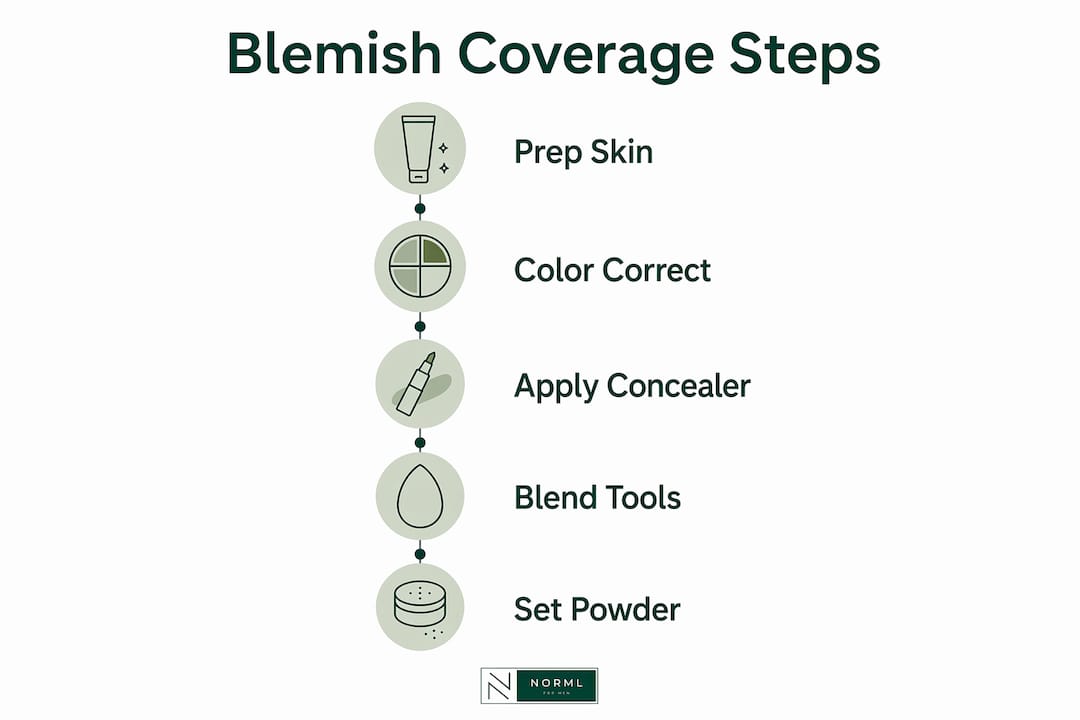
Follow this order for the best results:
- Cleanse and moisturize. Pat skin dry and apply a light, oil-free moisturizer. Wait 60 seconds.
- Apply primer (optional but effective). A thin layer of mattifying primer over oily zones extends wear significantly. Wait 60 to 90 seconds before the next step. Rushing layering causes sliding and patchy coverage.
- Apply color corrector. Dab green corrector only onto red blemishes. Let it set 30 to 60 seconds before moving on. Rushing this step is one of the most common reasons coverage breaks down within hours.
- Apply concealer in thin layers. Press a small amount directly onto the blemish using a brush or sponge. Pat, do not rub. Blend only the edges gently to avoid spreading product across clean skin.
- Build coverage gradually. Multiple thin layers give better wear and blending than one heavy coat. Wait 20 to 30 seconds between layers.
- Set with translucent powder. Press a finely milled loose powder over the concealed area using a small brush or sponge. Baking with loose powder can extend wear on active blemishes without adding heaviness.
The most common mistake is rubbing concealer in. Rubbing moves product off the blemish and onto surrounding skin, creating a smudged ring that highlights the spot instead of hiding it. Pat and press. That single habit change produces better results than switching products.
Pro Tip: For a step-by-step concealer routine built specifically for men, Norml4men has a detailed walkthrough that covers timing, tools, and product order.
How to choose the right concealer shade for your skin tone
Using a concealer shade slightly lighter than your skin tone highlights blemishes instead of hiding them. The goal is invisibility, and that requires matching your skin tone as closely as possible. Start light and build coverage rather than applying a heavy coat of the wrong shade.
The table below maps blemish type, skin tone, and the correct corrector and concealer approach:
| Blemish type | Skin tone | Corrector color | Concealer finish |
|---|---|---|---|
| Active red pimple | Fair to medium | Green | Matte, full coverage |
| Active red pimple | Medium to deep | Green | Matte, full coverage |
| Post-acne dark mark | Fair to medium | Peach | Satin or natural finish |
| Post-acne dark mark | Medium to deep | Orange | Satin or natural finish |
| Flat scar or discoloration | All tones | None needed | Creamy, buildable |
Lighting in social settings changes how coverage reads. Indoor fluorescent lighting exposes color mismatches more than natural daylight. If you are heading into a brightly lit office or event space, test your shade in similar lighting before you leave home. Adjusting concealer shade slightly for the environment improves invisibility in ways that even good technique cannot compensate for.
For a deeper look at picking the right shade, Norml4men covers the full process of matching tone to skin depth and blemish type.
One additional option worth knowing: medicated concealers with salicylic acid cover active breakouts while treating them at the same time. This is useful when you are dealing with an ongoing breakout and want coverage that does not just mask the problem.
How to keep blemish coverage intact all day
Coverage that looks great at 8 a.m. and disappears by noon is a technique problem, not a product problem. Setting your concealer correctly is the single biggest factor in how long it lasts.
Key strategies for all-day wear:
- Set immediately after concealer. Press finely milled loose powder over the concealed area right after application. Skipping this step is why concealer disappears off pimples within two hours.
- Use a setting spray. A light mist of setting spray after powder locks everything in place and reduces the powdery look.
- Blot oil without rubbing. Blotting papers absorb excess oil without disturbing coverage. Pressing a clean blotting sheet against oily areas removes shine without moving product.
- Touch up with clean tools only. If you need to reapply concealer mid-day, use a clean brush or fresh sponge. Reapplying with a dirty tool introduces bacteria and moves existing coverage around.
- Do not pick or touch covered spots. Touching a covered blemish transfers oil from your fingers and lifts product off the skin.
- Remove everything at night. Sleeping in concealer clogs pores and worsens breakouts. A gentle cleanser removes product without stripping skin.
Pro Tip: Carry a small compact of finely milled loose powder and a clean travel brush. A 10-second press-and-set touch-up at lunch extends your coverage through the rest of the day without any visible reapplication.
Key takeaways
Effective blemish coverage relies on the right product layered in the right order with the right tools. Technique and timing consistently outperform product quantity alone.
| Point | Details |
|---|---|
| Color correct first | Apply green corrector on red spots before concealer to reduce the amount of product needed. |
| Match your shade exactly | Concealer lighter than your skin tone highlights blemishes rather than hiding them. |
| Pat, never rub | Stippling concealer onto the blemish and blending only the edges prevents smearing and extends wear. |
| Set every time | Finely milled loose powder pressed over concealer is the difference between two-hour and all-day coverage. |
| Use clean tools | Fingers transfer bacteria to inflamed skin; a clean brush or damp sponge protects skin and improves finish. |
What I’ve learned from watching men avoid this for years
I have spent a long time watching guys buy expensive products, apply them wrong, and then conclude that makeup does not work for men. The real issue is almost never the product. It is the assumption that you can rub concealer in like sunscreen and get a natural result.
The technique gap is real, and it is fixable in one session. Once you understand that patting beats rubbing, that color correction reduces the amount of concealer you need, and that setting powder is not optional, the whole thing clicks. Coverage that looks natural is not about using more product. It is about using less product in the right order.
What I find most interesting is how the subtlety of good coverage actually builds confidence in a way that heavy coverage never does. When you know nobody can tell, you stop thinking about your skin and start focusing on the conversation. That mental shift is the actual payoff, not the concealer itself.
Men in professional and social settings deal with the same skin concerns as everyone else. The difference is that most men have never been shown how to address them. That is a gap worth closing, and it takes about five minutes once you know the steps.
— Ford
Why Norml4men makes this easier for men
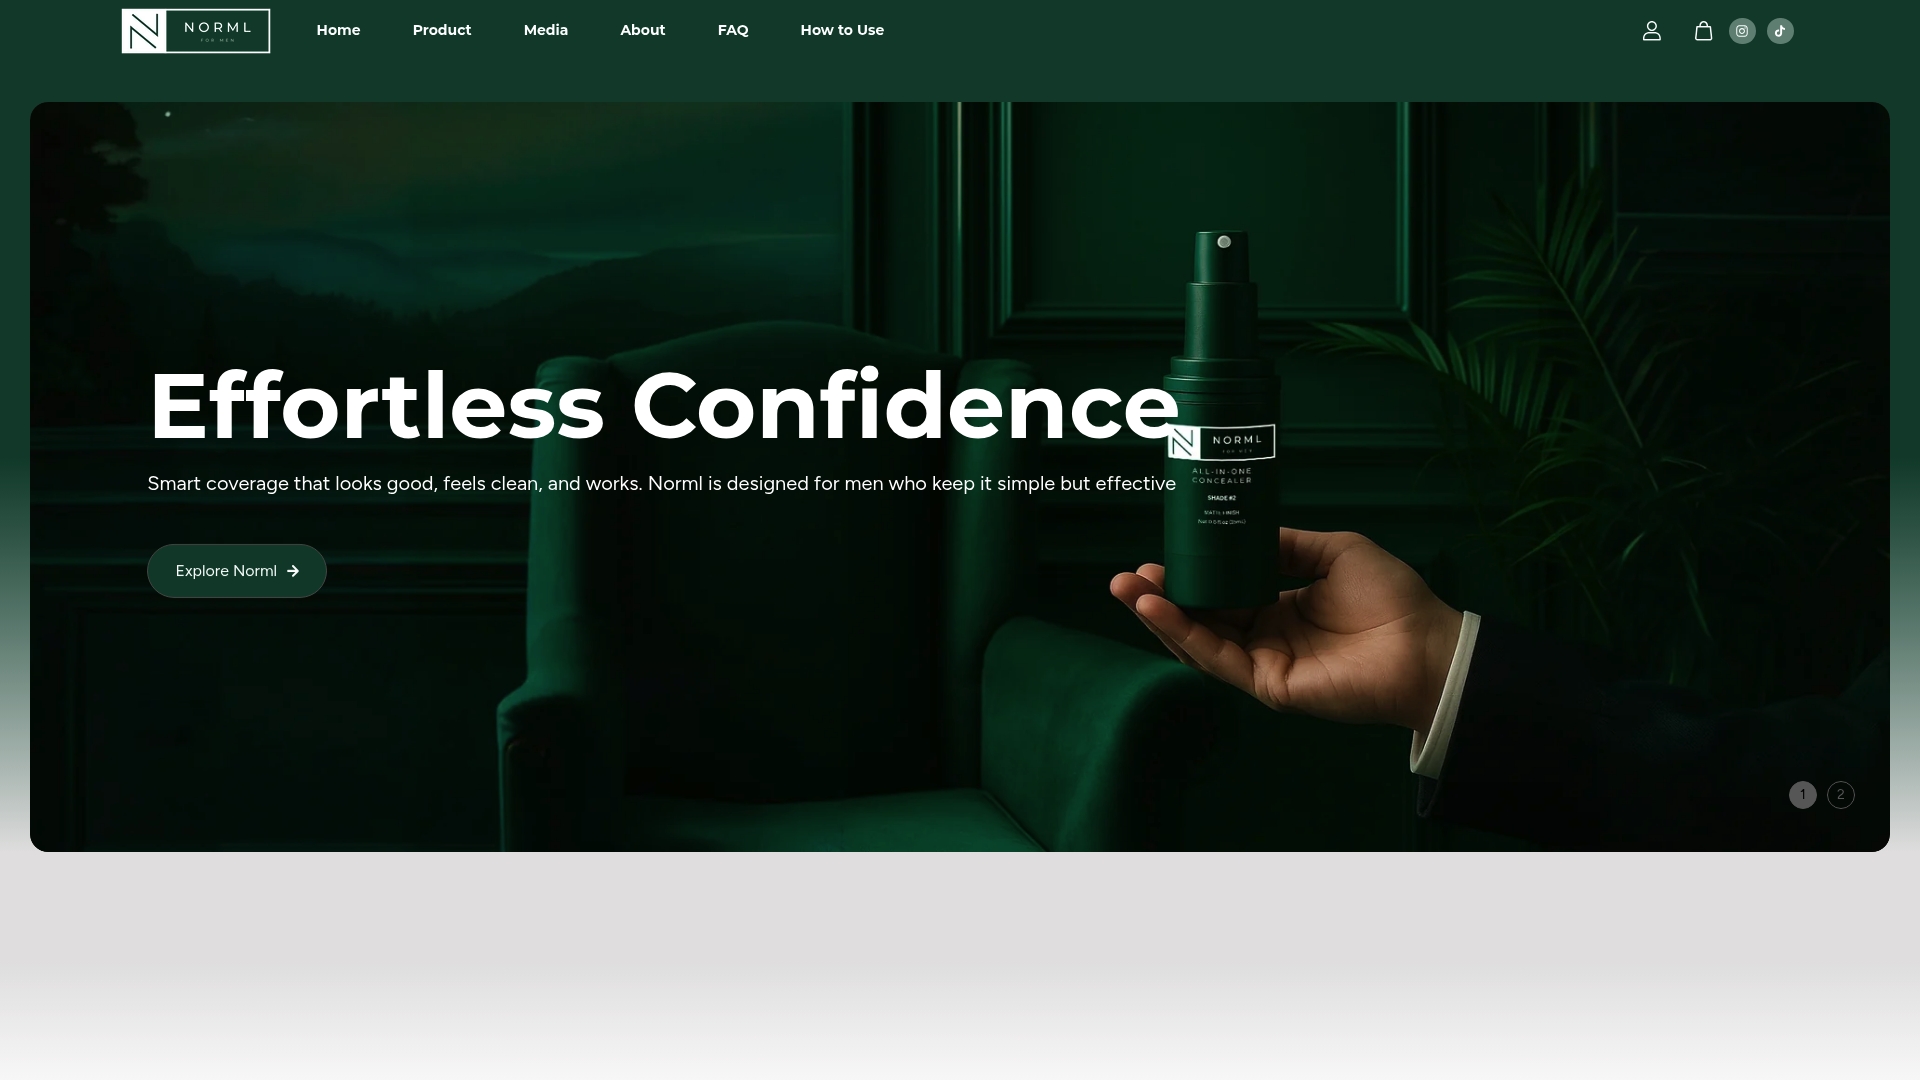
Norml4men built its all-in-one concealer specifically around the needs described in this guide. The formula is non-comedogenic and oil-free, so it covers without clogging pores or worsening breakouts. The matte finish reads as skin, not product, which is the standard every coverage technique in this article is working toward. Coverage is buildable, meaning you start with a thin layer and add only what you need. No heavy coat, no cakey finish. Applied with a clean brush or damp sponge as recommended, Norml4men delivers the natural, even result that takes most men weeks of trial and error to figure out on their own.
FAQ
What is blemish coverage?
Blemish coverage is the use of cosmetic products and application techniques to visually minimize spots, redness, and scars on the skin. The goal is a natural, even finish that reduces visible contrast without looking like makeup.
What is the best product for covering blemishes on men’s skin?
A non-comedogenic, matte concealer matched closely to your skin tone is the most effective option for men. Pairing it with a green color corrector for red blemishes reduces the amount of concealer needed and improves how natural the result looks.
How do I stop concealer from disappearing after a few hours?
Set concealer immediately with a finely milled loose powder pressed over the covered area. Skipping this step is the primary reason coverage breaks down within two hours of application.
Should I use my fingers to apply concealer?
No. Fingers transfer bacteria to inflamed skin and push product around instead of pressing it in. A small concealer brush or a damp sponge gives better coverage and reduces the risk of worsening breakouts.
Does the shade of concealer really matter that much?
Yes. A shade even slightly lighter than your skin tone highlights the blemish instead of hiding it. Match your skin tone as closely as possible, starting light and building coverage rather than applying one heavy layer.


