
Step by Step Concealer Routine for Men: Flawless Finish
Scanning the mirror in the morning before a big meeting or night out, those stubborn blemishes and dark circles never fail to grab your attention. For young men aiming for a sharp, polished look, proper skin preparation supports effective makeup application and lays the groundwork for concealer to work seamlessly. This guide breaks down easy, discreet grooming steps so you can target skin concerns and achieve a natural confidence that lasts all day.
Table of Contents
- Step 1: Prep Your Skin For Application
- Step 2: Select And Apply Concealer Strategically
- Step 3: Blend For A Seamless Finish
- Step 4: Check And Touch Up As Needed
Quick Summary
| Key Point | Explanation |
|---|---|
| 1. Thorough Skin Prep is Essential | Cleansing and moisturizing your skin creates a smooth canvas for concealer, enhancing its appearance and longevity. |
| 2. Choose the Right Concealer Shade | Select one to two shades lighter for under-eye brightening or match your skin tone for blemishes to ensure a natural look. |
| 3. Use Gentle Tapping for Application | Applying concealer by tapping rather than rubbing helps maintain product integrity and blend seamlessly without caking. |
| 4. Blend for a Natural Finish | Use a damp beauty sponge or soft brush to blend concealer edges, ensuring a flawless transition to the surrounding skin. |
| 5. Check and Touch Up in Natural Light | Inspect your makeup in natural light and apply minimal touch-ups for any missed spots to maintain a polished appearance throughout the day. |
Step 1: Prep Your Skin for Application
Your skin’s surface is the canvas. Getting it right makes everything that comes next look sharper and last longer. This step takes just a few minutes but makes a massive difference in how your concealer sits and blends.
Start by cleansing your face with a gentle cleanser to remove oil, dirt, and any leftover products from the previous day. Use lukewarm water and pat your skin dry with a soft towel, not a rough rub. Your skin should feel clean but not tight or stripped.
Next, apply a lightweight moisturizer to your entire face, focusing on areas where you’ll apply concealer. This hydration step is critical because proper skin preparation supports effective makeup application by balancing your skin’s pH and creating a smooth surface. Let the moisturizer absorb for 30 to 60 seconds before moving forward.
If you have specific problem areas, here’s where to address them:
- Dark circles: Apply a bit of extra moisturizer under the eyes for a smoother texture
- Oily zones: Use a mattifying primer on your forehead, nose, or chin if those areas tend to shine
- Dry patches: Layer a richer cream on any rough or flaky spots
Wait about one to two minutes after moisturizing. Your skin needs to set slightly so the concealer adheres properly and doesn’t slide around. This patience pays off in a finish that actually stays put.
If your skin is prone to redness or sensitivity, you can apply a lightweight color-correcting balm before concealer. This evens out the base and lets your concealer do less work.
Here’s a summary of skin preparation methods and their effects:
| Prep Method | Benefit | Recommended For |
|---|---|---|
| Gentle cleansing | Removes oil and dirt | All skin types |
| Lightweight moisturizer | Smooth surface, hydration | Most areas, especially under eyes |
| Mattifying primer | Reduces shine, controls oil | Oily zones (forehead, nose, chin) |
| Rich cream | Softens rough patches | Dry or flaky areas |
| Color-correcting balm | Neutralizes redness | Sensitive or red-prone skin |
A prepped face is a forgiving face—concealer blends better, looks more natural, and lasts throughout your day.
Pro tip: Keep your moisturizer in a cool place or apply it with slightly damp hands to reduce inflammation under your eyes and create an even smoother surface for concealer.
Step 2: Select and Apply Concealer Strategically
You’ve prepped your skin. Now comes the part that actually covers those problem areas and boosts your confidence. Choosing the right shade and applying it correctly transforms how you look in minutes.
Start by selecting the correct shade for your goal. Concealer shade selection depends on the target area: use one to two shades lighter than your skin tone for brightening under your eyes, or an exact match when covering blemishes and redness. Hold the product up to your skin in natural light to verify the match before applying.
Here’s how to choose by area:
- Under eyes: Lighter shade to counteract darkness and brighten the area
- Blemishes and redness: Exact match to blend seamlessly without drawing attention
- Scars or texture: Match your skin tone to provide even coverage
Now for the application. Using a small applicator brush or your fingertip, gently tap the concealer onto your target area rather than rubbing or dragging. Tapping creates better coverage without disrupting your moisturizer or causing creasing. Start with less product, then add more if needed.

Work the concealer outward from the center of the area you’re covering. Use feather-like motions to blend the edges so there’s no visible line between concealed and unconcealed skin. Take your time here, it only adds 30 seconds but makes a massive difference.
If you need extra coverage on stubborn spots, let the first layer set for 10 seconds, then tap on a second thin layer. Layering thin coats beats applying one thick coat that looks cakey.
Strategic application means coverage that looks like skin, not makeup.
Pro tip: Set your concealer with a light translucent powder on oily zones only, leaving the under-eye area bare for a more natural finish that won’t crack or settle into fine lines throughout the day.
Step 3: Blend for a Seamless Finish
Blending is where concealer stops looking like a patch and starts looking like your actual skin. This step separates a noticeable makeup look from one that appears naturally flawless.
The key is using the right blending tool and technique. Stippling motions with a sponge create seamless blending while maintaining full coverage, unlike rubbing which unevenly removes product. Grab a damp beauty sponge or a soft brush and prepare to work gently around your concealed areas.
Here’s the blending approach that works:
- Start with light pressure: Tap the sponge or brush around the edges of your concealer in small, controlled motions
- Work outward: Move from the center of the concealed area toward the surrounding skin
- Feather the edges: Blend until there’s zero visible line between covered and uncovered skin
- Avoid heavy rubbing: Let the tool do the work, not your hand strength
If you’re using a damp beauty sponge, slightly wet it so it glides smoothly without dragging concealer away. The moisture helps the product meld with your skin instead of sitting on top. Press gently rather than swipe, and focus on blending edges rather than the center where you need maximum coverage.
For under-eye areas, use extra light pressure since that skin is delicate. Your goal is to soften the transition so blending takes maybe 20 to 30 seconds per area.
Once you’re satisfied with the blend, you’re ready to set your concealer to make it last all day. The setting step locks everything in place so your flawless finish stays exactly that way through meetings, lunch, and whatever else comes next.
Seamless blending means the concealer disappears into your skin, not sits on top of it.
Pro tip: Chill your damp beauty sponge in the refrigerator for two minutes before blending to reduce any remaining puffiness under your eyes while you work.
This comparison table highlights blending tools and their advantages:
| Tool | Technique | Best For | Main Benefit |
|---|---|---|---|
| Damp beauty sponge | Stippling/tapping | Under-eye, all areas | Seamless finish, minimizes creasing |
| Soft brush | Feather motions | Blemishes, texture | Precise blending of edges |
| Fingertip | Light tapping | Small spots | Quick touch-ups, more control |
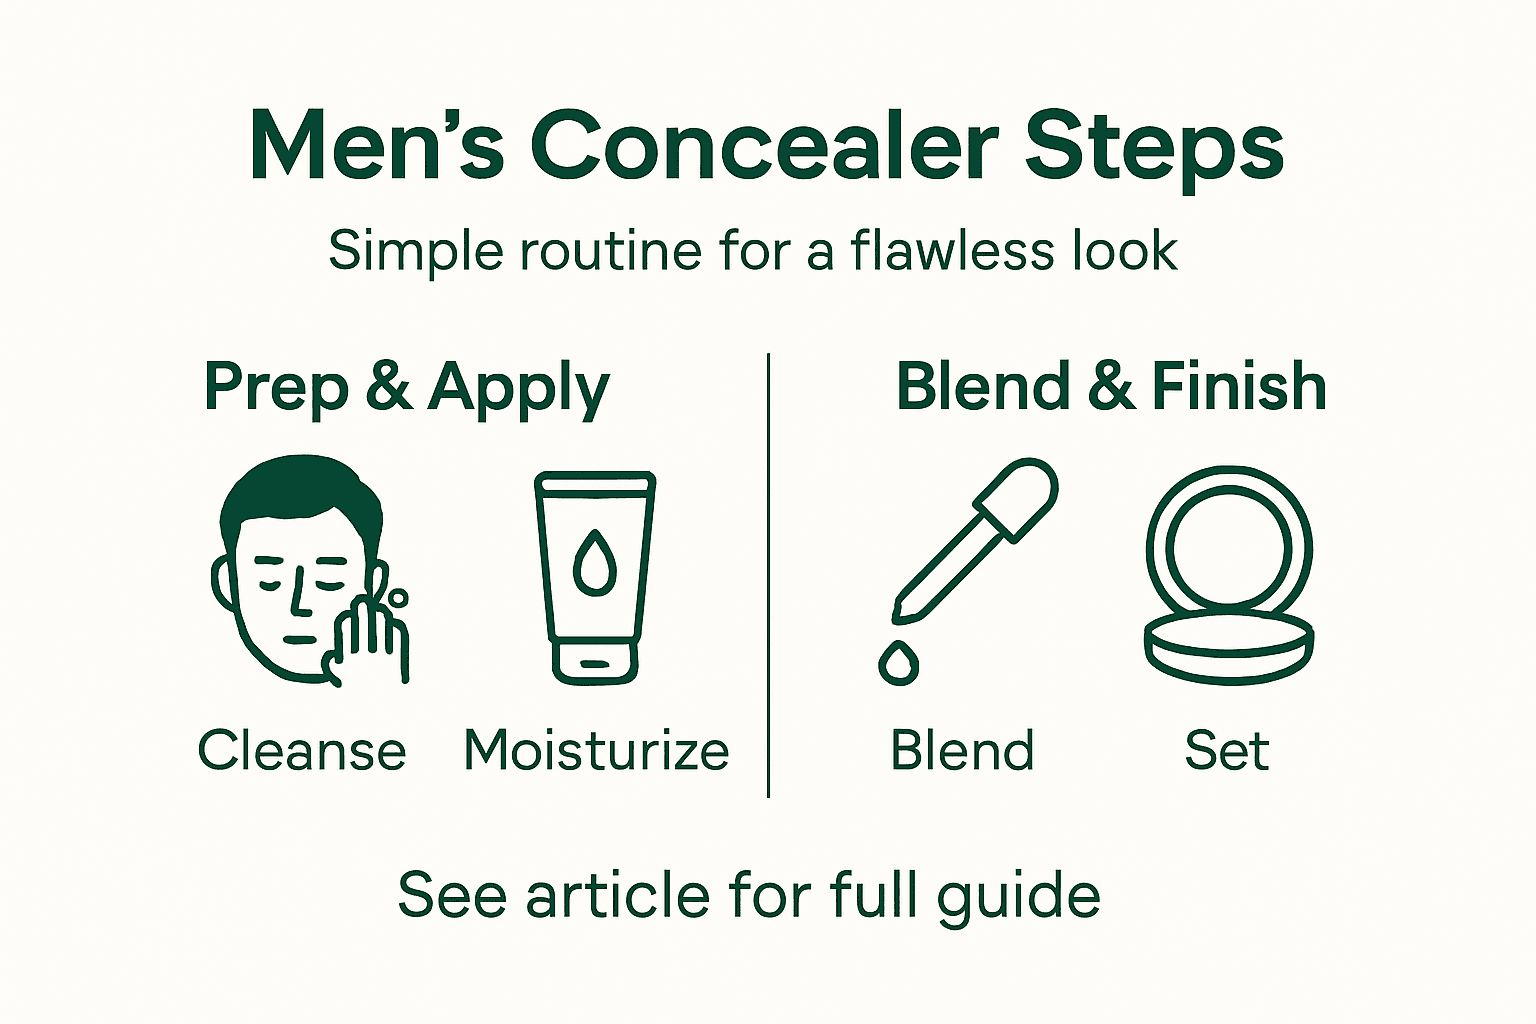
Step 4: Check and Touch Up as Needed
Your concealer is blended and set, but before you head out, take a moment to inspect your work in natural light. This quick quality check catches any missed spots or areas that need reinforcement before they matter.
Move to a window or step outside and look at your face from different angles. Natural light reveals what artificial lighting misses, including unblended edges, thin coverage, or areas where concealer has shifted. Pay special attention to under-eye zones and any blemishes you targeted.
When you spot areas needing more coverage, don’t just glob on more concealer. Instead, use a minimal amount and apply it strategically. Touch-ups should use thin layers to avoid cakey buildup that looks heavy and unnatural. Apply a tiny dab with your fingertip or applicator brush, blend it gently with a sponge, and you’re done.
Here’s what to address during touch-ups:
- Thin spots: Small areas where original concealer didn’t provide enough coverage
- Creasing under eyes: Gently tap fresh concealer over creases, then blend
- Blemishes peeking through: Spot-treat with one thin layer, not multiple thick ones
- Edges that need softening: Blend outward with a damp sponge for seamless transitions
Once touch-ups are complete, set everything with powder or setting spray. A light dusting of translucent powder on problem zones locks coverage in place and prevents creasing throughout the day. If you’re using setting spray, one or two light mists seal the entire look and extend wear time significantly.
Check yourself one final time, then you’re ready to face the day with confidence. Your skin looks even, clear, and completely natural.
Light inspection and minimal touch-ups keep your look polished without appearing overdone.
Pro tip: Keep a small stick of concealer and a compact mirror in your bag for midday touch-ups, using the same tapping and blending technique you did at home to maintain a fresh, seamless appearance.
Achieve a Flawless Concealer Finish with Norml
Covering dark circles, blemishes, and redness can feel like a daily challenge. The article shows how preparing your skin and blending concealer carefully leads to a natural look that lasts. But even with the right technique, finding a product that blends seamlessly, feels lightweight, and looks natural is another battle. That is where Norml steps in as a game changer for men who want an easy, effective solution designed specifically for their skin.
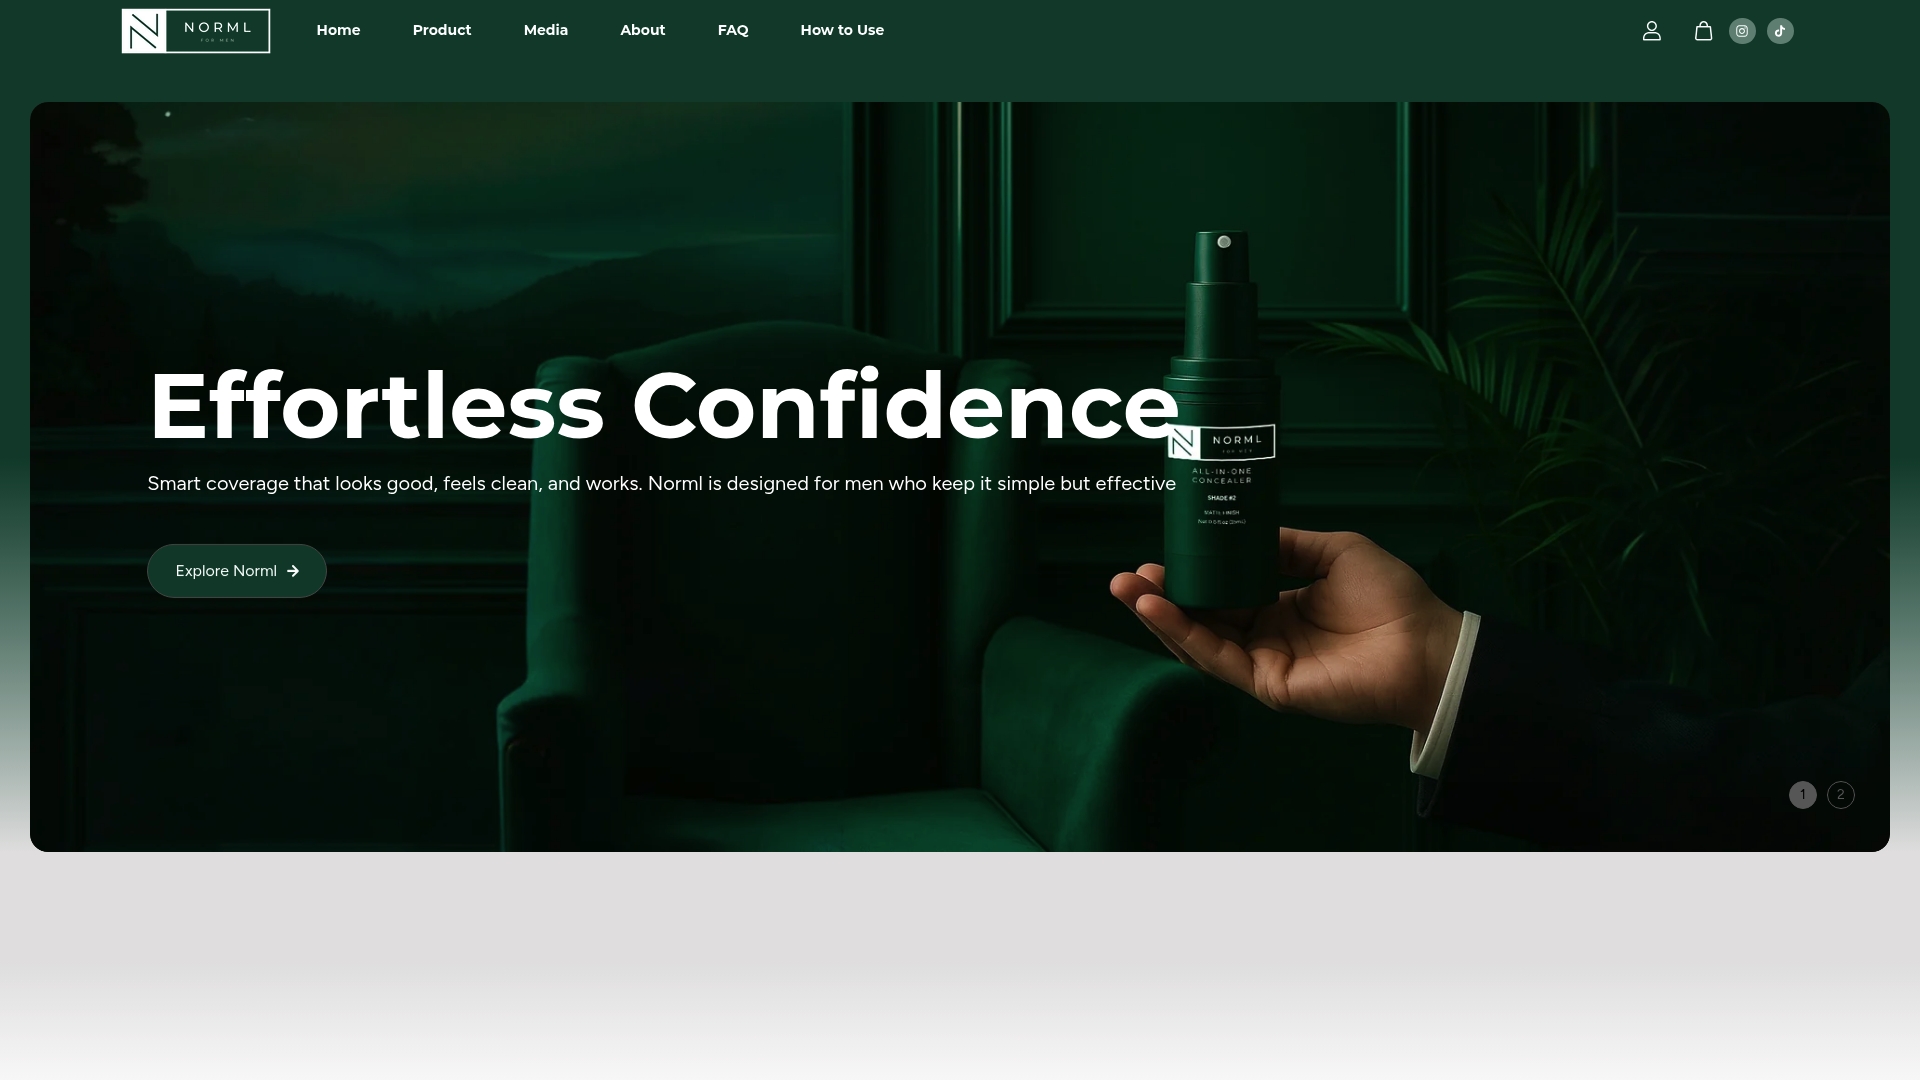
Norml is formulated to deliver a matte finish that covers imperfections without making you look like you are wearing makeup. It supports your goal of a sharp, confident appearance in seconds while respecting your skin’s texture and tone. If you want to skip complicated routines but keep the flawless effect described in the concealer guide, discover how Norml can simplify your daily grooming. For quick results and long-lasting coverage, check out Norml’s all-in-one concealer that melds with your skin effortlessly. Don’t wait to look as fresh as you feel—try Norml today and enjoy the confidence boost from a natural, easy-to-use concealer made just for men.
Frequently Asked Questions
What is the best way to prep my skin before applying concealer?
To prep your skin effectively, start by cleansing your face with a gentle cleanser to remove dirt and oil. Follow this with a lightweight moisturizer and wait 30 to 60 seconds for it to absorb, ensuring a smooth surface for concealer application.
How do I choose the right concealer shade for my skin tone?
Select a concealer shade that is one to two shades lighter to brighten under your eyes or a shade that matches your skin tone for blemishes. Hold the product up to your skin in natural light to confirm the match before applying.
What technique should I use to apply concealer for the best coverage?
Use a small applicator brush or your fingertip to gently tap the concealer onto the target area, rather than rubbing or dragging. Start with a small amount of product and gradually build up coverage if needed for a natural look.
How can I blend concealer seamlessly for a natural finish?
Blend concealer seamlessly by using a damp beauty sponge or soft brush, applying light pressure in stippling motions around the edges. Focus on feathering the edges until there’s no visible line, ensuring the concealer melds into your skin.
What should I do if my concealer creases or shifts during the day?
If your concealer creases, use a minimal amount of concealer to touch up the area, gently tapping it on and blending with a sponge. To prevent this, set with a light dusting of translucent powder immediately after application.
How can I maintain my concealer look throughout the day?
To maintain your look, inspect your face in natural light periodically and carry a small stick of concealer for quick touch-ups as needed. Use the same tapping and blending technique to keep your skin looking fresh and even.
Recommended
- Norml All-In-One Concealer – NORML
- How to Use – NORML
- Norml – Men’s All-in-One Concealer & Skincare Hybrid – NORML
- Media – NORML
- Step-by-Step Guide to Even Skin Tone for Radiant Results – Cellure
- HOW CAN MEN LOOK YOUNGER WITH SKINCARE? - The Aesthetics Room
- The Ultimate Pre-Shave Routine: How to Prep Your Skin for a Smoother Shave - Smart Shave


