
Men's Guide to Natural Coverage for Clear Skin
TL;DR:
- Natural coverage conceals blemishes and redness while keeping skin texture visible for a natural look. Proper skin prep, thin layer application, and blending are essential for achieving seamless results that last all day. Using products designed for men’s skin, like Norml4men’s concealer, simplifies the process and enhances confidence.
You want to look better without it being obvious you did anything. That’s exactly what a guide to natural coverage is built around. Blemishes, redness, and dark circles are real problems, and they affect how you feel walking into a room. Men seek natural coverage that conceals without masking, and the difference between those two outcomes comes down to preparation, product choice, and technique. This guide covers all three, step by step, without any of the overcomplicated beauty-world language that usually gets in the way.
Table of Contents
- Key Takeaways
- Your guide to natural coverage starts with prep
- How to apply natural coverage makeup step by step
- Choosing the best products for natural coverage
- Common mistakes that ruin natural coverage
- My honest take on natural coverage for men
- Try Norml4men for coverage that does the work
- FAQ
Key Takeaways
| Point | Details |
|---|---|
| Prep skin before applying | Cleanse and moisturize first so product blends smoothly and lasts longer. |
| Apply in thin layers | Build coverage gradually to avoid a cakey or heavy appearance. |
| Match products to your skin type | Oily skin needs matte formulas; dry skin benefits from cream or tint options. |
| Blend edges completely | Unblended edges are the most common reason coverage looks unnatural. |
| Set your coverage to make it last | A light dusting of powder or setting spray keeps makeup in place for up to 12 hours. |
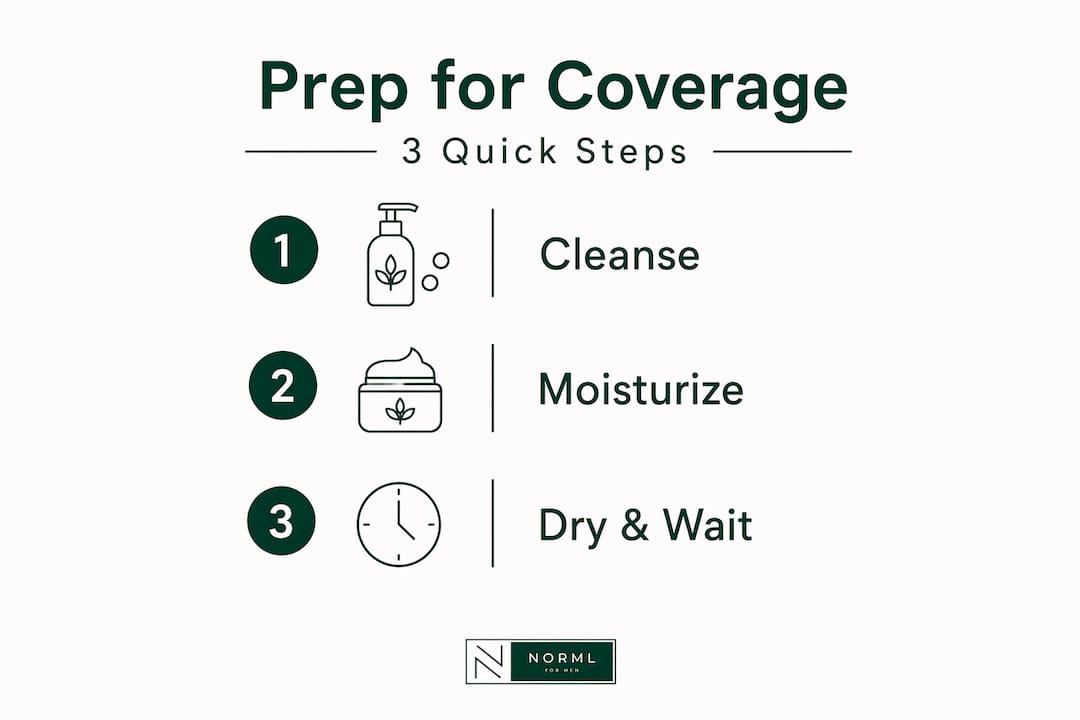
Your guide to natural coverage starts with prep
Most men skip this part and wonder why their coverage looks off by noon. The skin underneath your product matters more than the product itself.
Start by washing your face with a gentle cleanser to remove oil and debris. Follow with a lightweight moisturizer. Dry or dehydrated skin creates an uneven texture that causes coverage to crack or settle into lines. A moisturized base gives the product something smooth to grip.
After moisturizer, consider a primer. It sounds optional, but a pore-minimizing primer creates a surface that holds coverage in place for hours longer than bare skin. You do not need a fancy version. A clear, lightweight primer applied over the full face or just on problem areas like the nose and forehead is enough.
Key prep steps to build into your routine:
- Cleanse to remove excess oil and buildup
- Apply moisturizer and let it absorb for 60 to 90 seconds before moving on
- Use a primer on areas prone to oiliness or visible pores
- For heavy redness or dark circles, apply a color corrector before foundation. Green neutralizes red tones; peach or orange corrects dark circles on deeper skin tones
Pro Tip: Do not rush the moisturizer step. If you apply coverage on top of wet or tacky moisturizer, the product slides around and never truly sets. Give it a full minute to absorb.
Your tools also make a difference. Fingers work surprisingly well for cream or stick products because body heat helps blend the product into skin. A small sponge (slightly dampened) gives the most natural finish for liquid or tinted formulas. Brushes are better for powders. Matching your tool to your product type is one of the most overlooked natural coverage tips that actually move the needle.
How to apply natural coverage makeup step by step
This is where most guides get vague. They tell you to “blend well” without explaining what that actually means for your specific situation. Here is a process that works.
-
Start with the lightest possible layer of foundation or tinted moisturizer. Apply it to your full face using a damp sponge, pressing and rolling rather than wiping. Wiping drags the product and creates streaks. Press and roll gives you an even base. A natural look foundation or tinted moisturizer is better than full coverage as your starting point because you can always add more, but you cannot easily remove it once it is on.
-
Apply concealer only where you actually need it. This is the step most men get wrong. They apply concealer everywhere, which defeats the purpose. Target blemishes, the corners of your nose if redness clusters there, and the under-eye area for dark circles. Use a small amount. Less than you think you need.
-
Blend the concealer into the surrounding skin. Thin layers applied carefully prevent a makeup look that feels heavy or unnatural. Use a fingertip or small sponge to tap and press the edges of the concealer outward until there is no visible line between covered and uncovered skin. If you can see the edge, blend more.
-
Check your shade match in natural light. Artificial light lies. Step near a window after blending and look at whether your coverage matches your neck. If it is lighter than your neck, you went too light. If it reads orange, go one shade cooler.
-
Set the coverage with a light dusting of translucent powder or a setting spray. Proper setting techniques allow makeup to last 8 to 12 hours and prevent transfer. For oily skin, powder gives better control. For dry skin, a setting spray keeps coverage from looking chalky.
-
Step back and look at your full face. Not the individual spots you covered. Your whole face. If something catches your eye as obviously placed, blend that area again with a clean fingertip.
Pro Tip: If your coverage looks cakey after setting, lightly mist your face with water or setting spray and press a clean sponge over the area. This melts the product slightly and gives a more skin-like finish.
Skin-like or blurring formulas in cream or tint form allow skin texture to stay visible, which is exactly what you want. Coverage that erases every pore and line does not look like skin. It looks like a filter.
Choosing the best products for natural coverage
Not all formulas are built the same, and using the wrong one for your skin type is the fastest way to kill an otherwise good technique.
Coverage levels explained:
- Light coverage (tinted moisturizers, BB creams): Evens skin tone without masking texture. Best for minor redness or slight unevenness.
- Medium coverage (lightweight foundations, skin tints with buildable coverage): Conceals most blemishes and redness with one to two layers. The most versatile option for everyday use.
- Full coverage (dense foundations, heavy concealers): Covers significant scarring or discoloration but requires careful blending to avoid looking heavy.
For most men aged 18 to 35 dealing with standard skin concerns, medium coverage is the sweet spot. You can build it where needed and keep it light everywhere else.
Creams, liquids, and finely milled powders are the most forgiving product textures, especially when applied with fingers or soft brushes. They adapt to skin movement rather than sitting on top of it. This matters more than people realize. A rigid formula on active, expressive skin cracks and separates throughout the day.
Here is a quick breakdown to help you compare product types:
| Product type | Coverage level | Best for | Finish |
|---|---|---|---|
| Tinted moisturizer | Light | Minor redness, uneven tone | Natural, dewy |
| BB cream | Light to medium | Hydration plus coverage | Natural |
| Liquid foundation | Medium to full | Blemishes, buildable needs | Matte or satin |
| Concealer stick | Medium to full | Spot coverage on the go | Matte |
| Setting powder | Finishing only | Oil control, longevity | Matte |
When reading product descriptions, look for terms like skin-like or blurring rather than “full coverage” or “high definition.” Those latter terms often mean the product will look most obvious on skin that is not perfectly smooth, which is most people’s skin. Also look for formulas labeled breathable, lightweight, or buildable. These descriptions indicate the product is designed to layer without thickening.
You can find strong guidance on top complexion products built specifically for men if you want a starting point without hours of research.
Common mistakes that ruin natural coverage
Even good products fail when the application goes wrong. These are the mistakes that show up most often and how to fix them.
- Over-applying product. Over-application and skipping color correction lead to cakey, unnatural results. The fix is simple: start with less product than you think you need, then build if necessary.
- Using the wrong shade. Shades that are too light make covered areas look pale and obvious. Shades too warm read orange. Always test on the side of your jaw in natural light, not on your inner wrist.
- Skipping the edges. The edge of your concealer is where natural coverage fails or succeeds. If the transition between covered skin and bare skin is abrupt, it reads as obvious. Blend past the coverage into clean skin.
- Ignoring primer on oily skin. Oily skin breaks down coverage from underneath. Without primer, a product that looks perfect at 8 a.m. may fade or slide by 10 a.m.
- Setting with too much powder. A heavy hand with powder creates a flat, matte appearance that looks like a filter from the wrong era. Use a fluffy brush and tap off excess before applying. A light touch is all you need.
- Skipping the full-face check. Judging coverage by looking only at the spot you covered is how you miss the big picture. Always look at your full face from a normal distance before you walk out.
For oily skin specifically, use a mattifying primer and set aggressively with powder around the T-zone. For dry skin, skip powder entirely and use a setting spray to lock coverage in place without adding texture.
My honest take on natural coverage for men

I’ve watched men write off makeup entirely because they tried a product once, it looked wrong, and they concluded the whole thing wasn’t for them. That’s almost always a technique problem, not a makeup problem.
What I’ve found is that the goal should never be to look like you’re wearing nothing at all costs. The goal is to look like a well-rested, clear-skinned version of yourself. There’s a difference. When you chase perfection and try to erase every imperfection, you over-apply, and that’s when it becomes visible.
In my experience, natural coverage builds confidence in a way that most men don’t expect. You walk in feeling more even, more put-together. Not because you’re hiding something, but because you addressed it without making it the center of attention.
The men who get this right quickly are the ones who accept that a little texture, a little pore, a little variation in skin tone is fine. You are covering the distracting stuff. You are not resurfacing your face.
Pick one product that matches your skin type, practice the blending step until it becomes second nature, and give yourself two or three tries before judging the result. The technique clicks faster than you’d expect.
— Ford
Try Norml4men for coverage that does the work
If you want one product that handles blemishes, redness, and dark circles without a complicated routine, Norml4men built exactly that.
The Norml All-In-One Concealer is lightweight, matte, and formulated specifically for men’s skin. It blends in seconds using your finger and leaves no visible product behind. No cakey finish. No obvious coverage. Just a cleaner, more even version of your face. It covers what you want covered and stays put throughout the day without needing touch-ups. If you have been hesitant to try coverage products because you were not sure which one to trust, this is the place to start.
FAQ
What does natural coverage actually mean for men?
Natural coverage means concealing blemishes, redness, and dark circles while keeping skin texture visible, so the result looks like your own skin rather than a layer of product.
How do I keep coverage from looking obvious?
Apply in thin layers, blend edges completely into surrounding skin, and always check your full face in natural light. Shade matching and thin layers are the two factors that most affect whether coverage blends or stands out.
What is the difference between full coverage and natural coverage?
Full coverage masks most skin texture and requires more careful blending. Natural coverage uses lighter formulas that even skin tone while preserving a realistic, skin-like finish. Most men benefit from medium coverage that can be built up only where needed.
How long does natural coverage makeup last?
With proper prep and a setting step, coverage typically lasts 8 to 12 hours. Setting with powder or spray locks product in place and prevents transfer throughout the day.
Do men need special makeup products for natural coverage?
Not always, but formulas designed for men’s skin account for factors like higher oil production and thicker texture. Products like Norml4men’s concealer are built specifically for these differences and tend to perform better than general-purpose options for men’s use cases.


